Corduroy Pinafore for Fall: A Hana Dress Pattern Hack!
During testing for the Hana Tank + Dress Pattern, one of the testers suggested that the dress version of the pattern would make a great pinafore over a shirt and tights for fall. Since then, it has been on my mind to make it! I’ve been on a self-inflicted fabric spending freeze lately, but broke my own rules when I found this gorgeous deep mulberry stretch corduroy at Joann Fabrics recently (and I actually might get a little more for a pair of Ginger Jeans or Sasha Trousers, as it has a little stretch that would make it perfect for comfy fall pants).
Basically, I have no self-control around The Fabrics.
Anywho! I grabbed two yards—which was more than enough—and made this dress in an afternoon and a morning. I made my size in the Version B dress as normal with a few adjustments to the details to make it more pinafore-y.
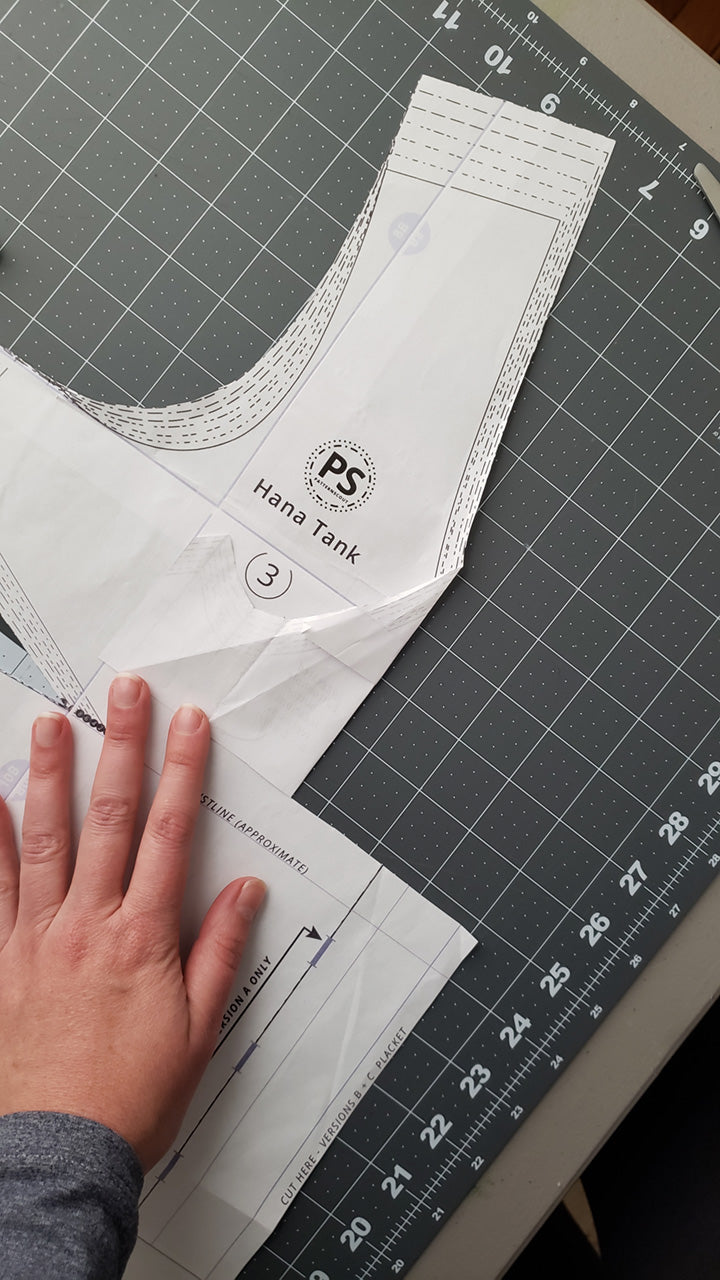
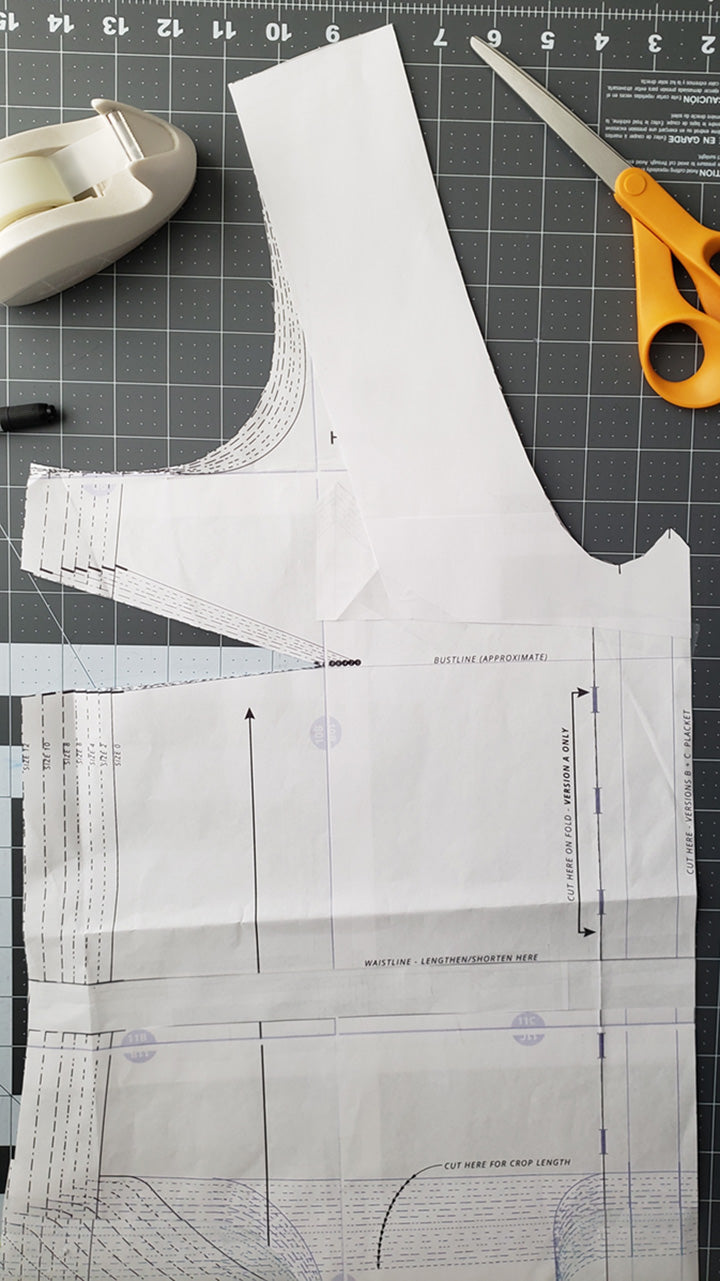
First, I lowered the neckline in the front by about an inch.
Since I knew I’d only be wearing this with a shirt under it, I felt like a little bit lower V-neck would look less stuffy.
To do this, I traced the bottom of the V-neckline on another sheet of paper, then scooted it down an inch before tracing the shoulder/upper neckline and blending between the upper and lower portions. I just taped the modified neckline over my existing paper pattern to avoid re-tracing and cutting the whole thing.


I cut and folded the original neckline out of the way (I wanted to preserve it) before taping the new neckline on top.

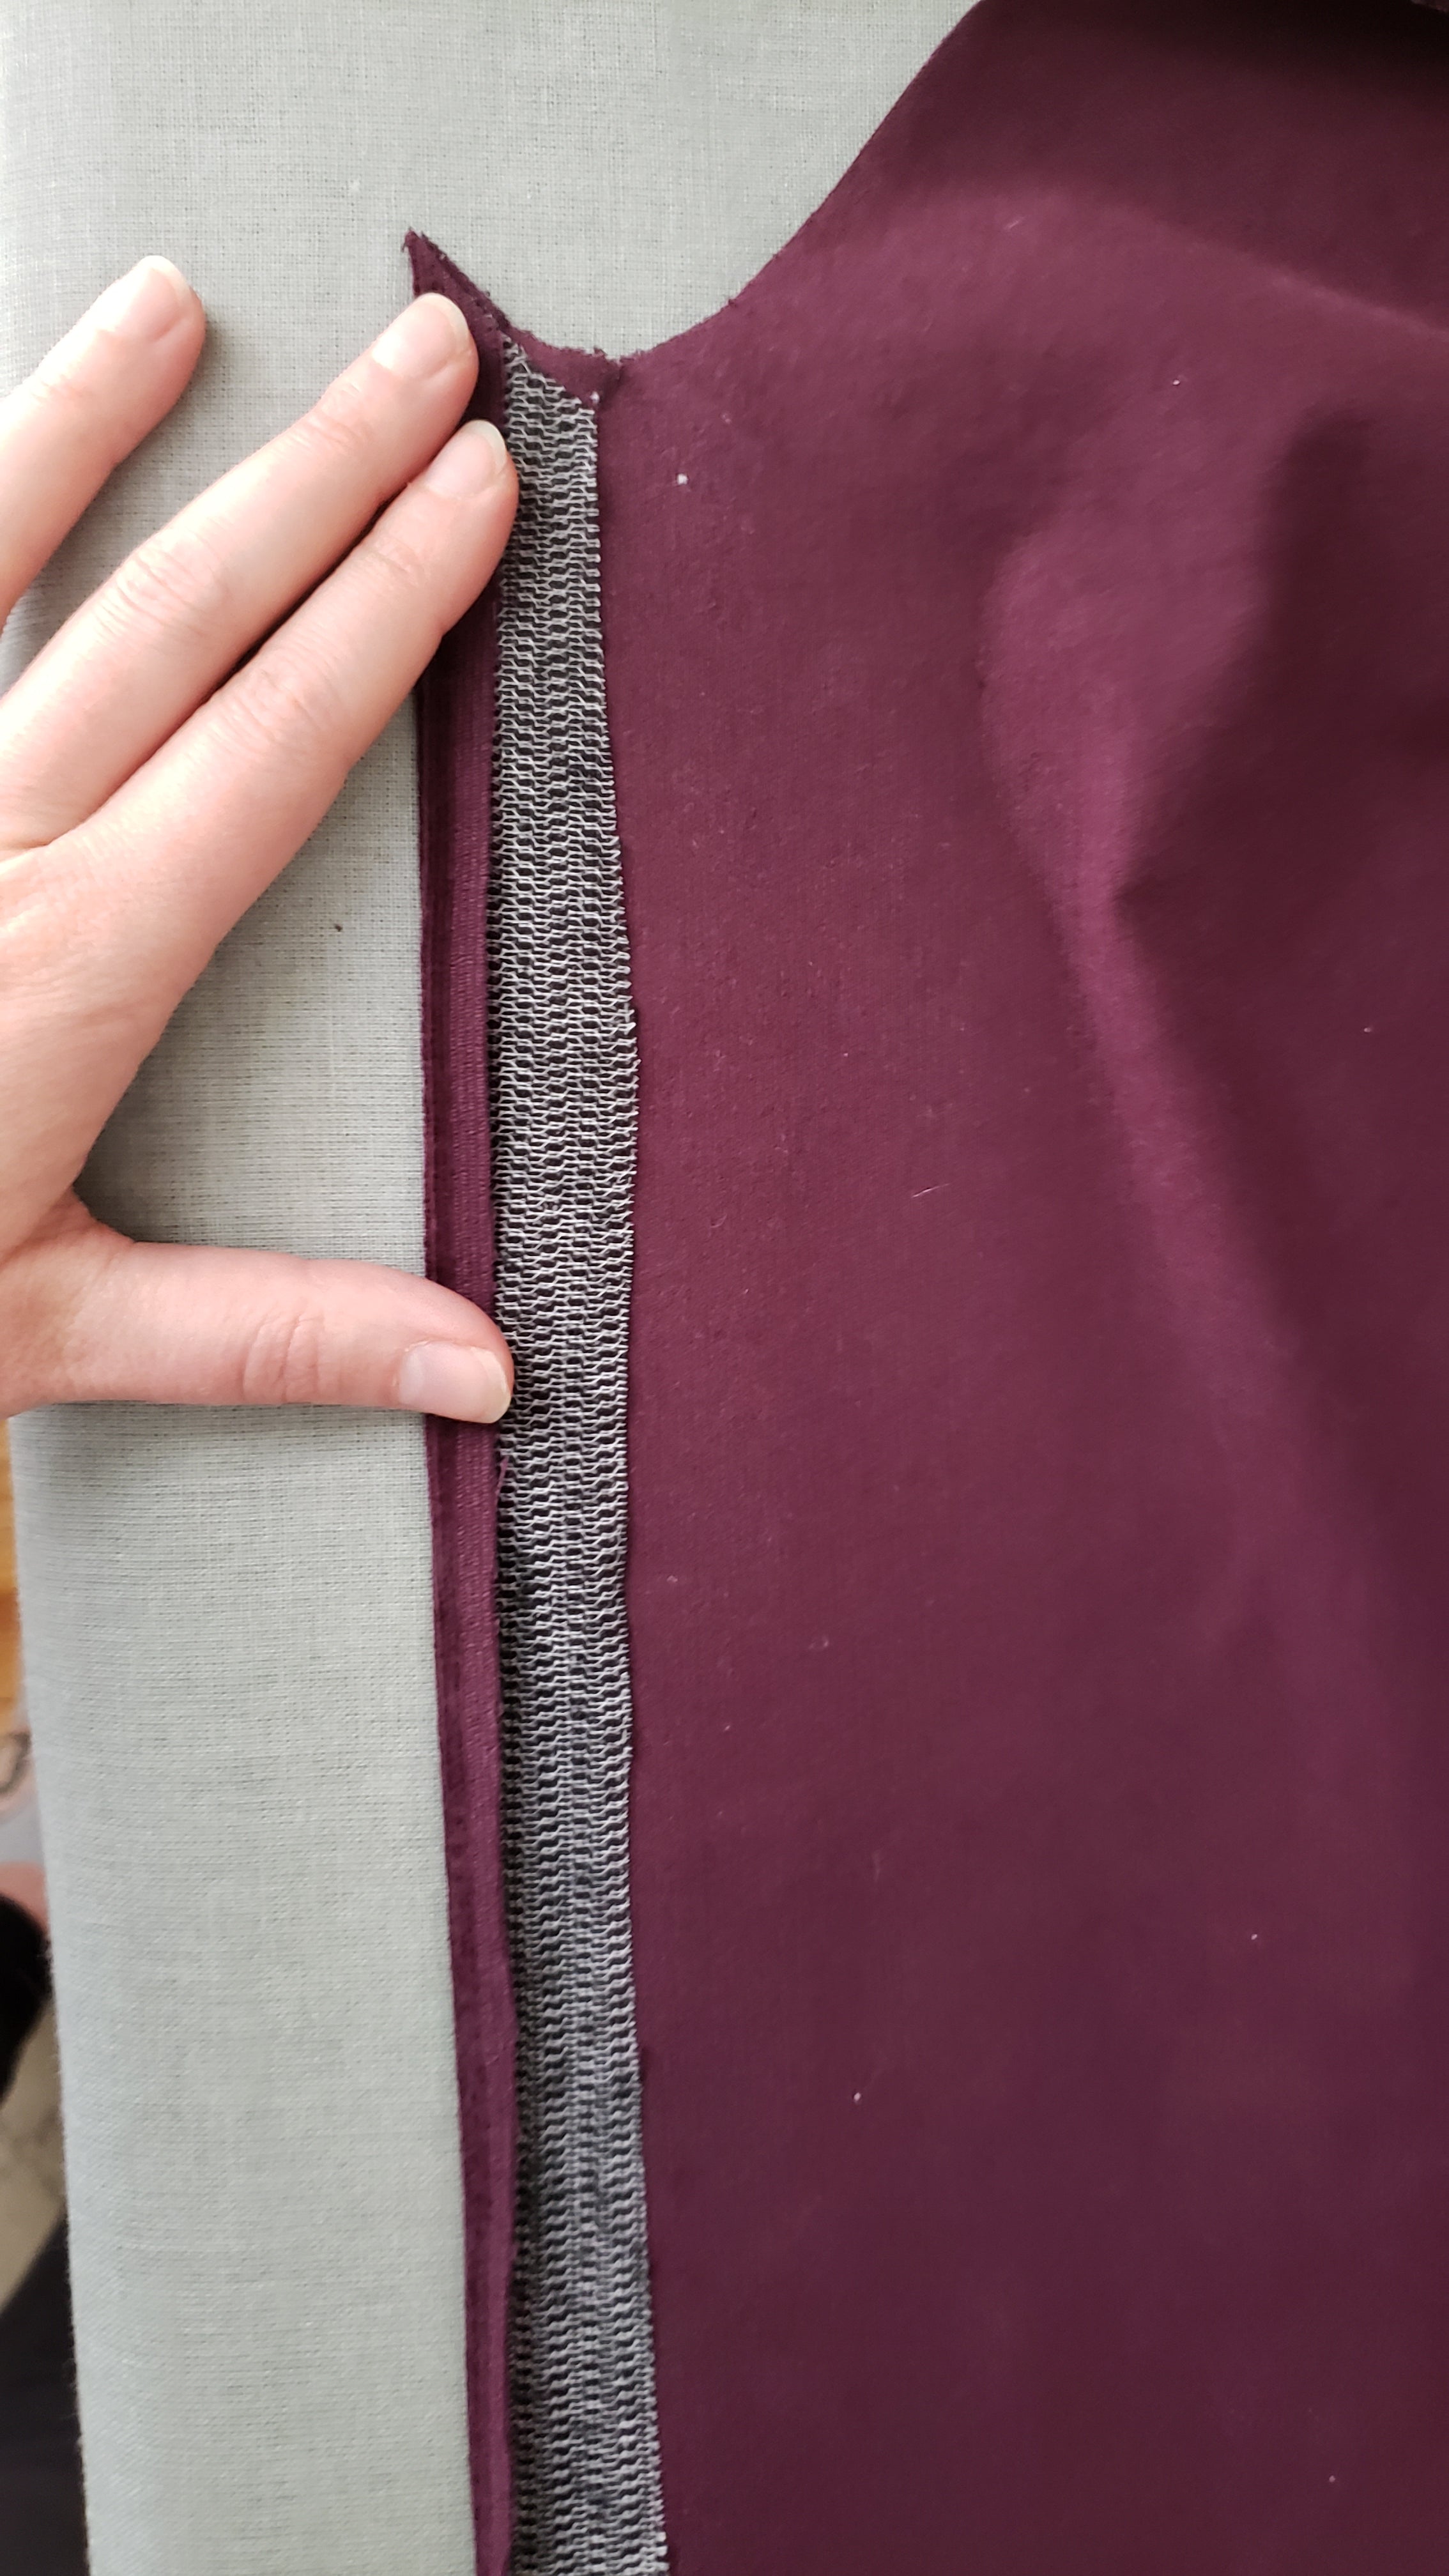
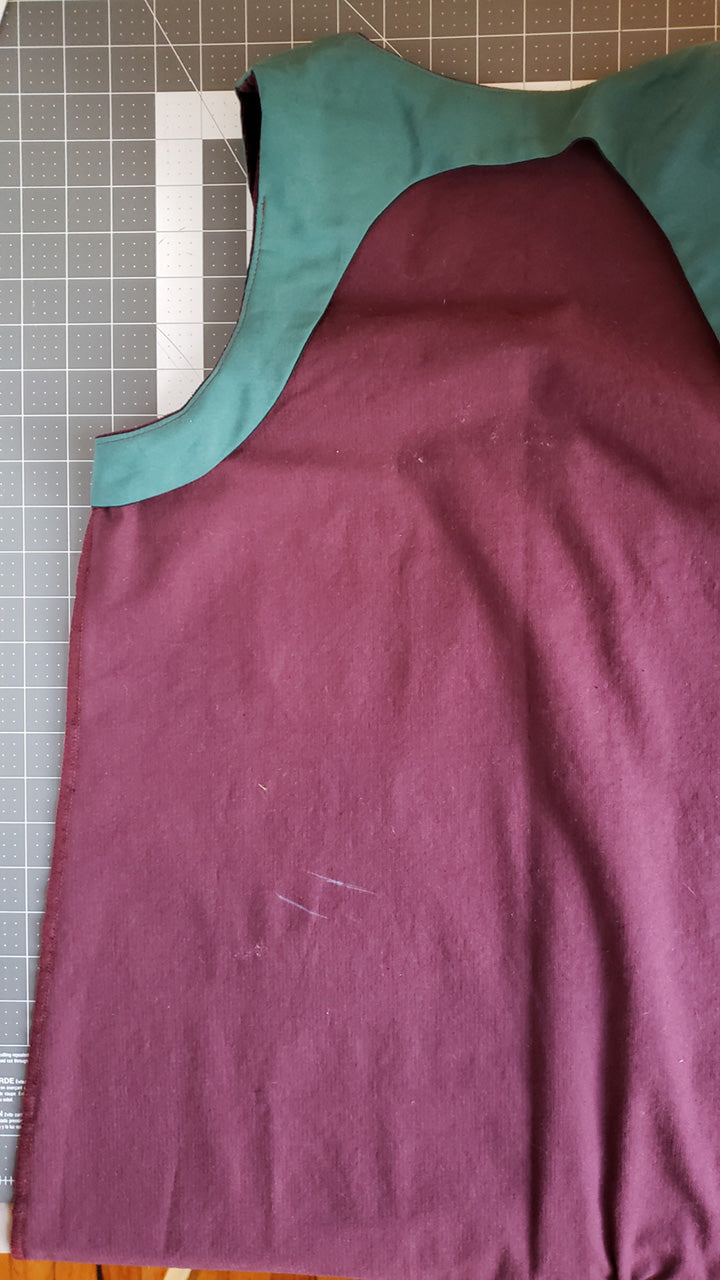
Armholes and neckline were finished with an all-in-one facing.
Cass of @craftyprofessor created a great blog post on drafting and sewing an all-in-one facing for all versions of this pattern here. People, I dove right in to this facing without looking at the tutorial EVEN THOUGH IT’S ON MY OWN BLOG. ::insert smacking my head emoji::
That was a mistake. So after ripping a few seams, I followed the tutorial and everything went swimmingly. It’s extremely helpful!

And I wanted the facing instead of the bias binding as instructed in the pattern because I wanted a clean finish on this thicker fabric.
I also used some tencel twill scraps I had laying around for the facing instead of the corduroy, again, because corduroy is a bulky fabric and I thought it might stick to my shirt underneath and not lay flat. The tencel twill worked out great.
Interfacing will not stick well to corduroy!
I had to fold the interfacing into the placket, which was easy enough. I tried to fuse it with an iron, but it peeled right off! So something to keep in mind. It’s ok if it doesn’t stick, but you definitely want the interfacing in there to keep your buttonholes from stretching out and give your buttons a little reinforcing.
You also want to avoid ironing corduroy too much, as it will affect the nap. Whenever I felt like I needed to iron it, I always did it from the wrong side only.

I finished the rest of the dress as instructed, then added back darts for a little shaping after trying it on.
This pattern was drafted for a lighter weight fabric and the boxier shape works well for summer dresses. But once I tried it on, I felt it was a little too boxy/flour sac looking for the corduroy and needed a little more shape to it. I tried on the dress and marked my natural waist on the back with a Clover chalk pen (I marked it a couple of times to make sure I got the right spot).
This is what it looked like before adding darts…


With the waist location marked, I placed a dart template at the waist right around halfway between the center and edge of the back bodice. I also traced a straight line along the grainline where I wanted to place the dart to keep it straight. And I measured the distance from the edge so I could replicate it on the other side.


Once I had the dart placed on one side, I measured and marked an identical dart on the opposite side. Then I sewed the darts and tried it on. I ended up increasing the dart a couple of times (only about a 1/4” at a time) to get it just right, so a little trial and error! But I’m much happier with the fit—it’s still loose, but conforms to my shape in the back in a little more flattering way.


(The dart template came from my own bodice block, I created a template you can use as a starting point here!)
I used antique brass jeans buttons for the front closure
This is one of my favorite details of this dress! I dug around in my button stash but was underwhelmed with everything in there. After perusing pinterest, I noticed that a lot of the pinafores had a “dungarees” vibe with metal buttons. Luckily, I had exactly enough buttons for this project (I always keep extra jeans buttons on hand because I’m obsessed with making jeans).

For a finishing touch, I added patch pockets!
Reason #3,485,682 that sewing our own clothing is amazing: we can add pockets—large-ass pockets—to errrthang. The pockets are freaking cute and very functional. I took this dress for a spin around town and my phone fit beautifully in them.
I cut the pockets at 9” x 7” and folded a wide hem along the top and folded the edges under by 1/2” before sewing them to the dress.

I finished it off with a wide hem and went a little shorter on the length since I knew I’d be wearing it with tights (gives it a retro mini-skirt vibe!). I love how it turned out and it is SO comfy while having a dressed up style to it.

I tried it with my flowy scarf-turned blouse that I self drafted a week ago and a black turtleneck (both looks were cute, but I fell in LOVE with the flowy shirt underneath the most).


It’s also super cute with my Jasika Blazer!
